Project 4: Image Stitching and Mosaics
In this project, we explore the fascinating world of image stitching to create panoramic mosaics. We'll take you through the process of combining multiple images into a seamless panorama.
Shooting Pictures
We start with three original images: a left view, a center view, and a right view. These images have overlapping regions that we'll use to stitch them together.
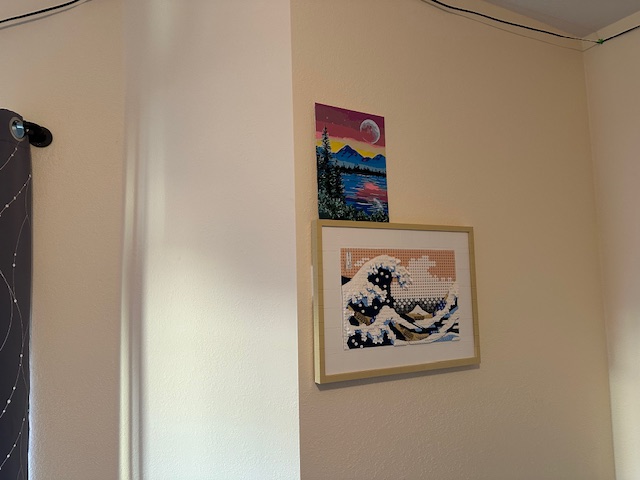
Left Image

Center Image

Right Image
Recovering Homographies
To stitch the images together, we need to find the homography between each pair of overlapping images. A homography is a 3x3 matrix that describes the transformation between two planes in a projective space.
The process of recovering homographies involves the following steps:
- Find corresponding points. For this section, I found them manually
- Set up a system of linear equations to find a matrix H that will transform the corresponding points from one image to another
- Convert into matrix equation.
- Use a least squares solver to find H, your desired matrix to transform the points from image 1 to image2.
Warped Image and Rectification
Next, we project the left and right images onto the main (center) view. After calculating the Homography, we transform all of the pixels from the first image onto the second image using our Homography matrix that we calculated from the earlier step.
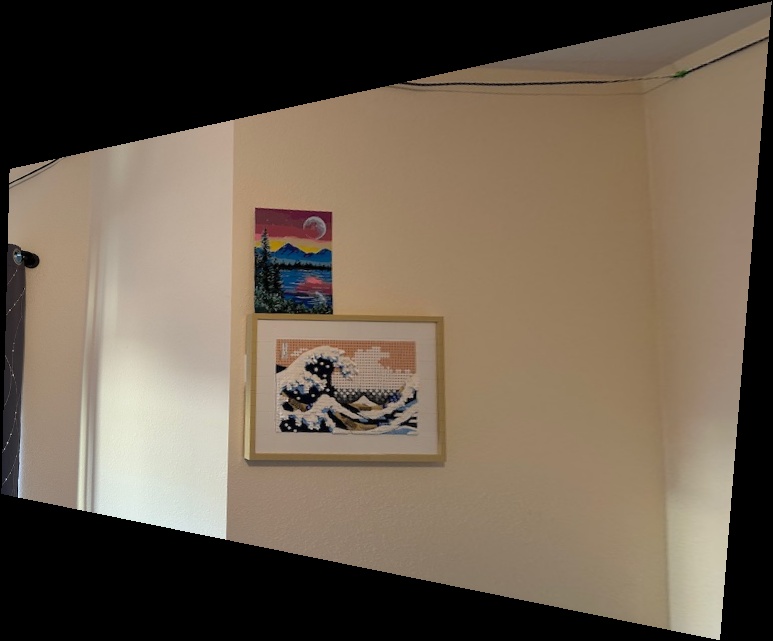
Left warped
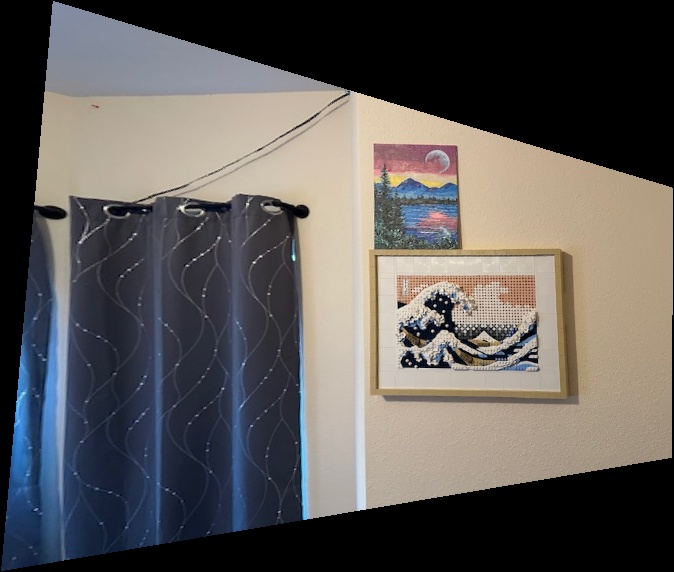
Right warped
Manual vs Auto Stitching: Left and Center Images

Left Image

Center Image

Right Image

Manual Left-Center Stitch

Auto Left-Center Stitch
Manual vs Auto Stitching: Center and Right Images

Left Image

Center Image

Right Image

Manual Center-Right Stitch

Auto Center-Right Stitch
Final Mosaic
Finally, we combine all three images to create our final panoramic mosaic. This involves blending the overlapping regions to create a seamless transition between the images.

Left Image

Center Image

Right Image

Final Stitched Mosaic
The resulting mosaic combines all three original images into a single, wide-angle view, effectively creating a panorama that captures a broader scene than any single image could.
Now, we will follow the paper "Multi-Image Matching using multi scale oriented patches" to do autostitching instead of manual stitching. The image we will use is now this image.
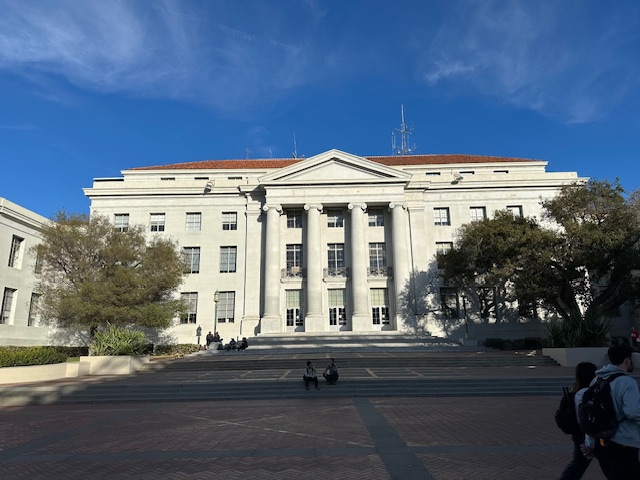
Sproul Hall, Berkeley
Steps 1-3: Feature Detection and Matching
Following the paper "Multi-Image Matching using Multi-Scale Oriented Patches" by Brown et al., we implement the following steps:
- Harris Interest Point Detector: We implement a single-scale Harris corner detector to identify key points in our images.

Sproul hall with Harris Points
- Adaptive Non-Maximal Suppression (ANMS): We apply ANMS to select a well-distributed subset of the detected corners. The way we do this is to find the points that have both the highest definition (as calculated by our H function) and are both sparse by introducing the concept of a "suppression radius", which ensures sparsity between points.
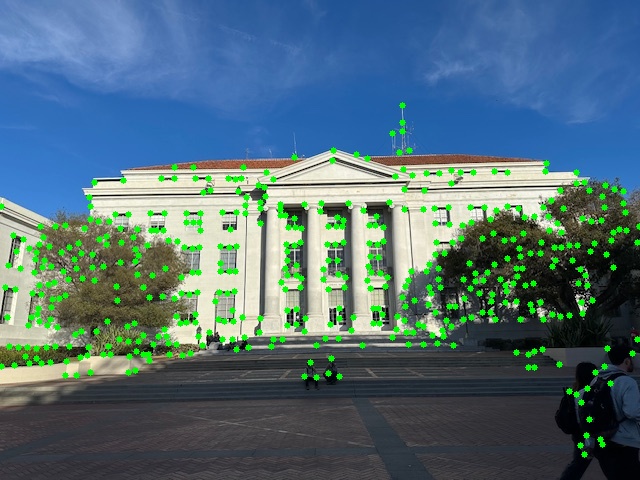
Sproul Hall with ANMS Points
- Feature Descriptor Extraction and Matching: We extract feature descriptors from the selected points and match them between image pairs.
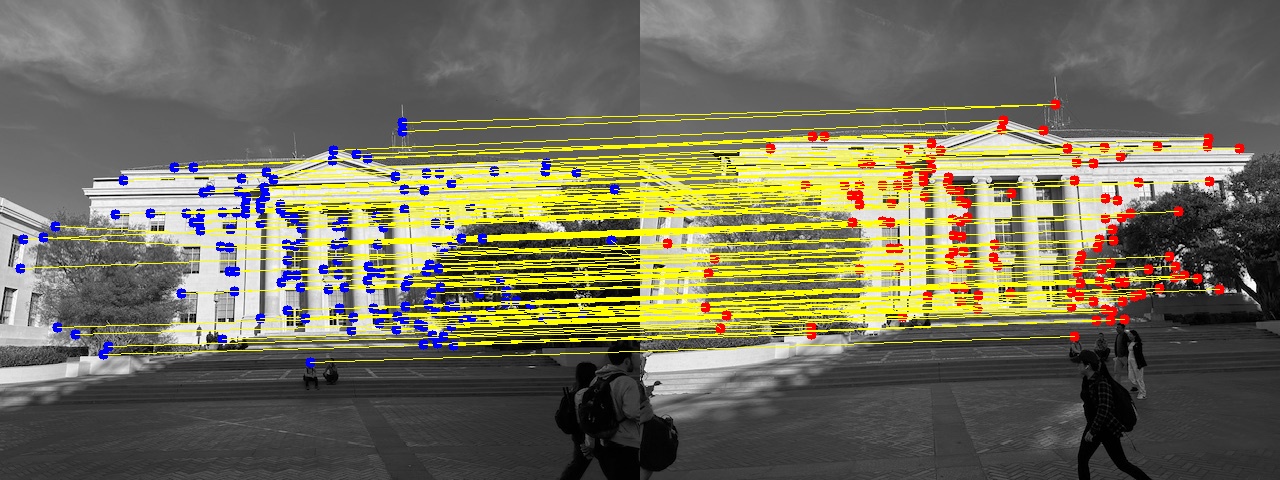
feature matching
As we can see, there are some pretty good matching features, but there are also some features that do not match up well. In the below image, there is a more pronounced error in matching. This would result in a very bad translation, which is why I ended up ditching the below picture.
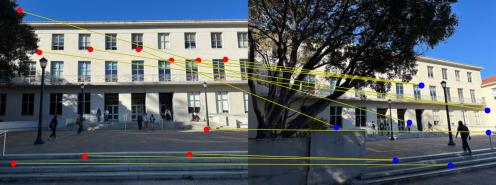
bad feature matching
Step 4: RANSAC, and also comparing with manual stitching
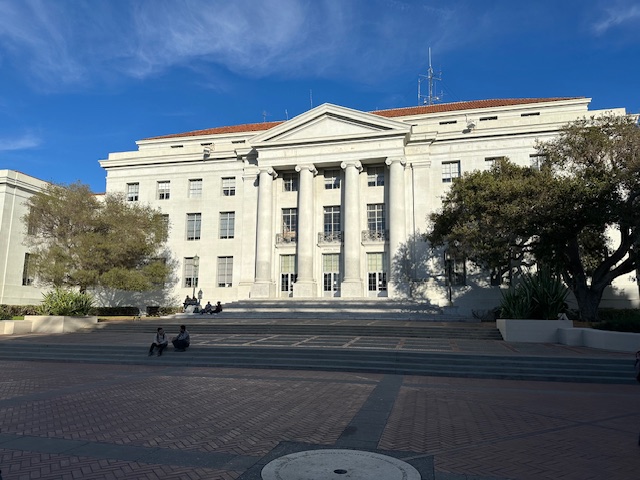
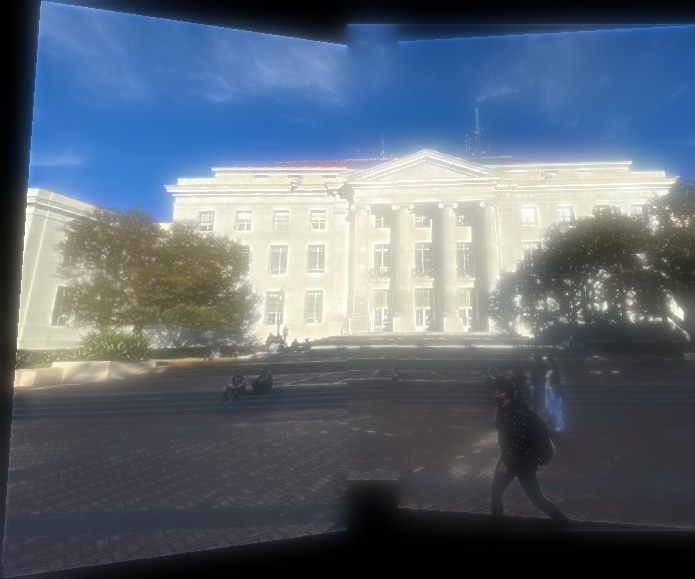
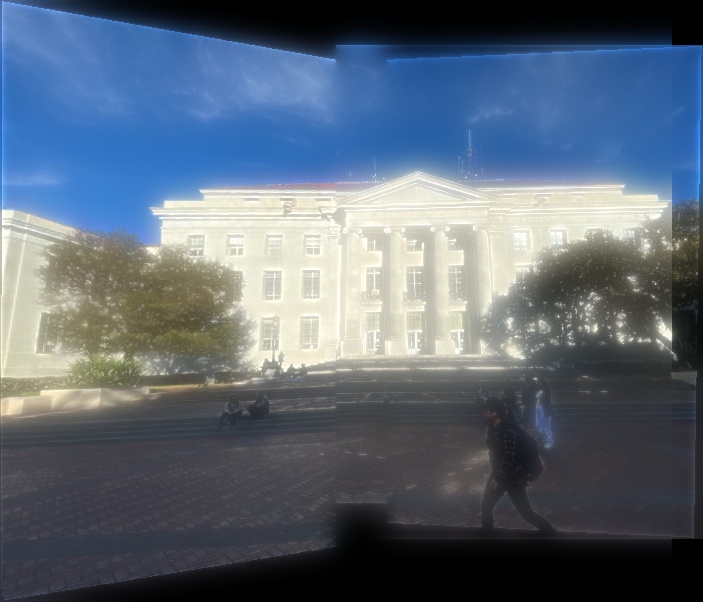
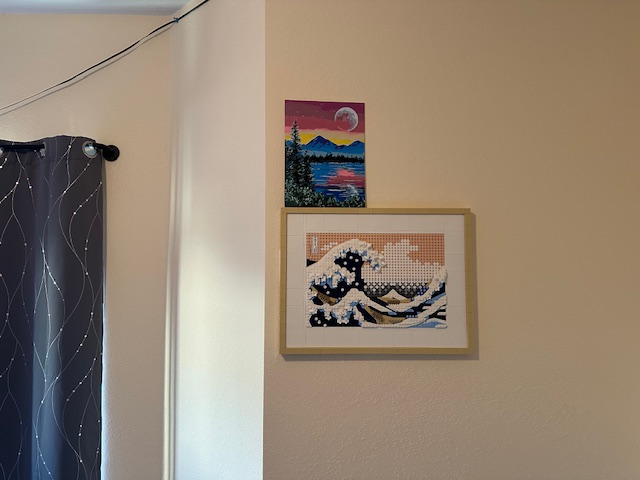
Here are a few results! I ran into a few difficulties with my blending function, as well as picking better pictures. The way Ransac works is to randomly select 4 points and then calculate the homography, and if the distance between the original points and the transformed points are within a certain threshold, we call it an inlier. After a few times, we pick the homogrophy matrix with the most number of inliers.
Sproul Hall
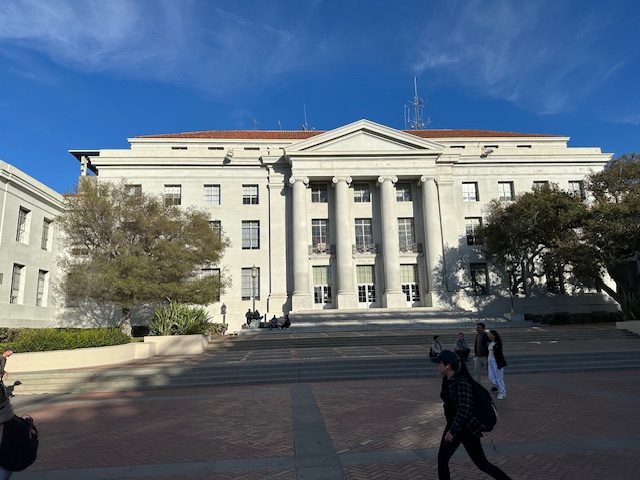
Left Image

Center Image
Right Image
Manual Stitch
Auto Stitch
My Room

Left Image
Center Image
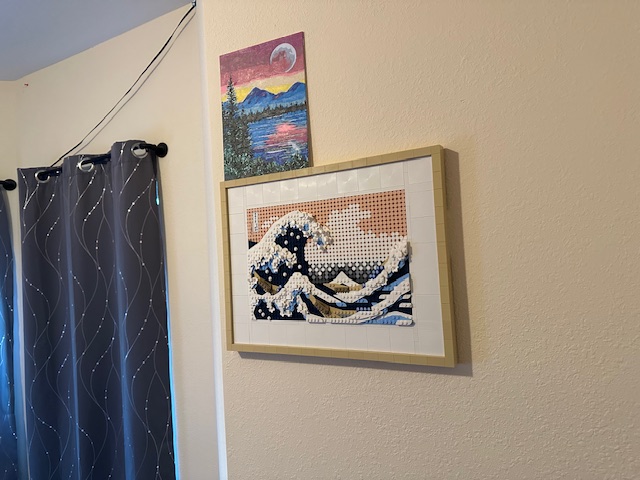
Right Image
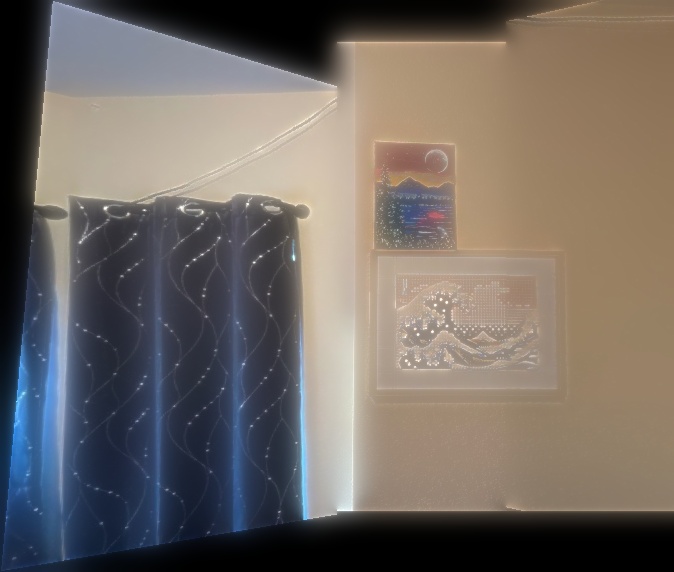
Manual Stitch
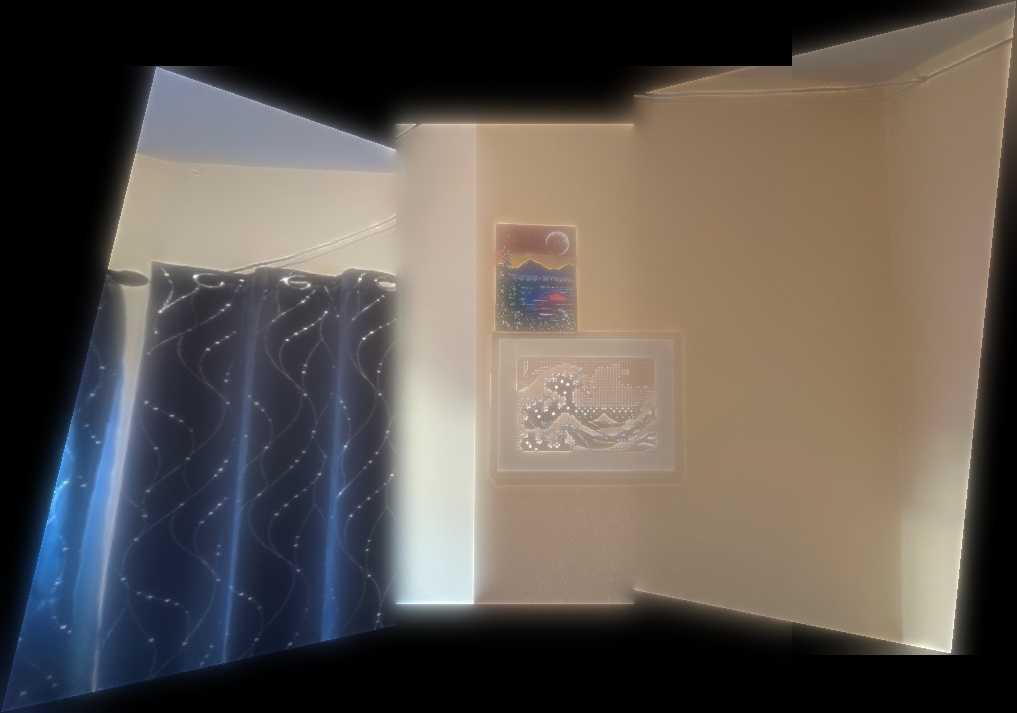
Auto Stitch
My Couch
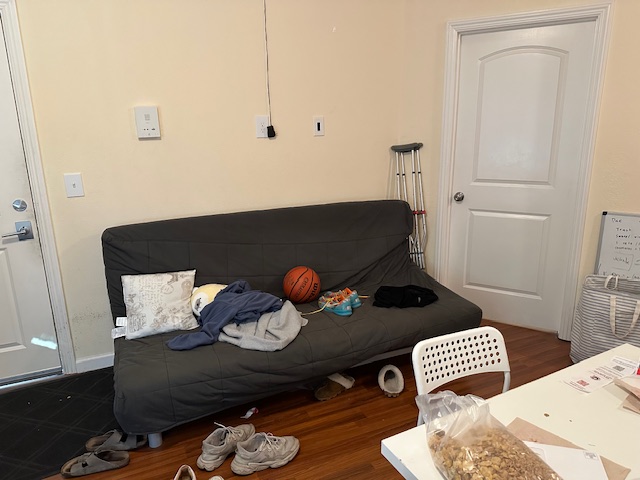
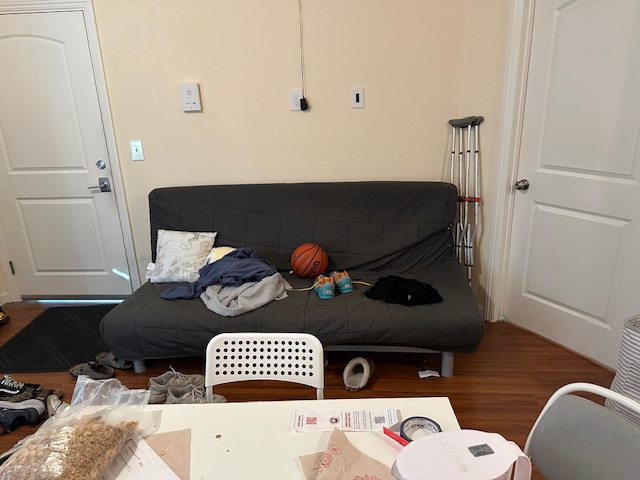
Left Image
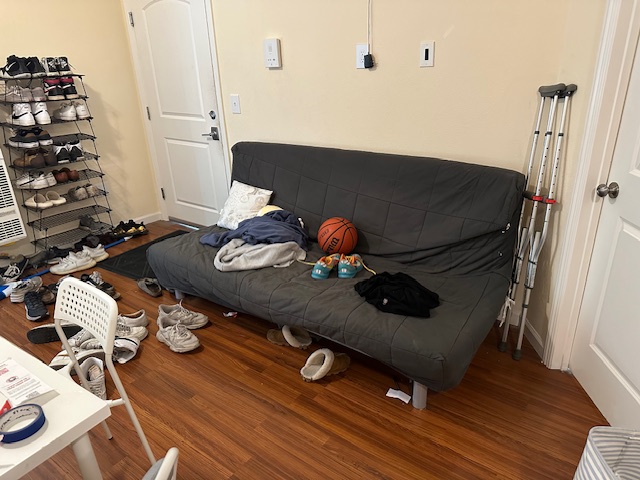
Center Image
Right Image
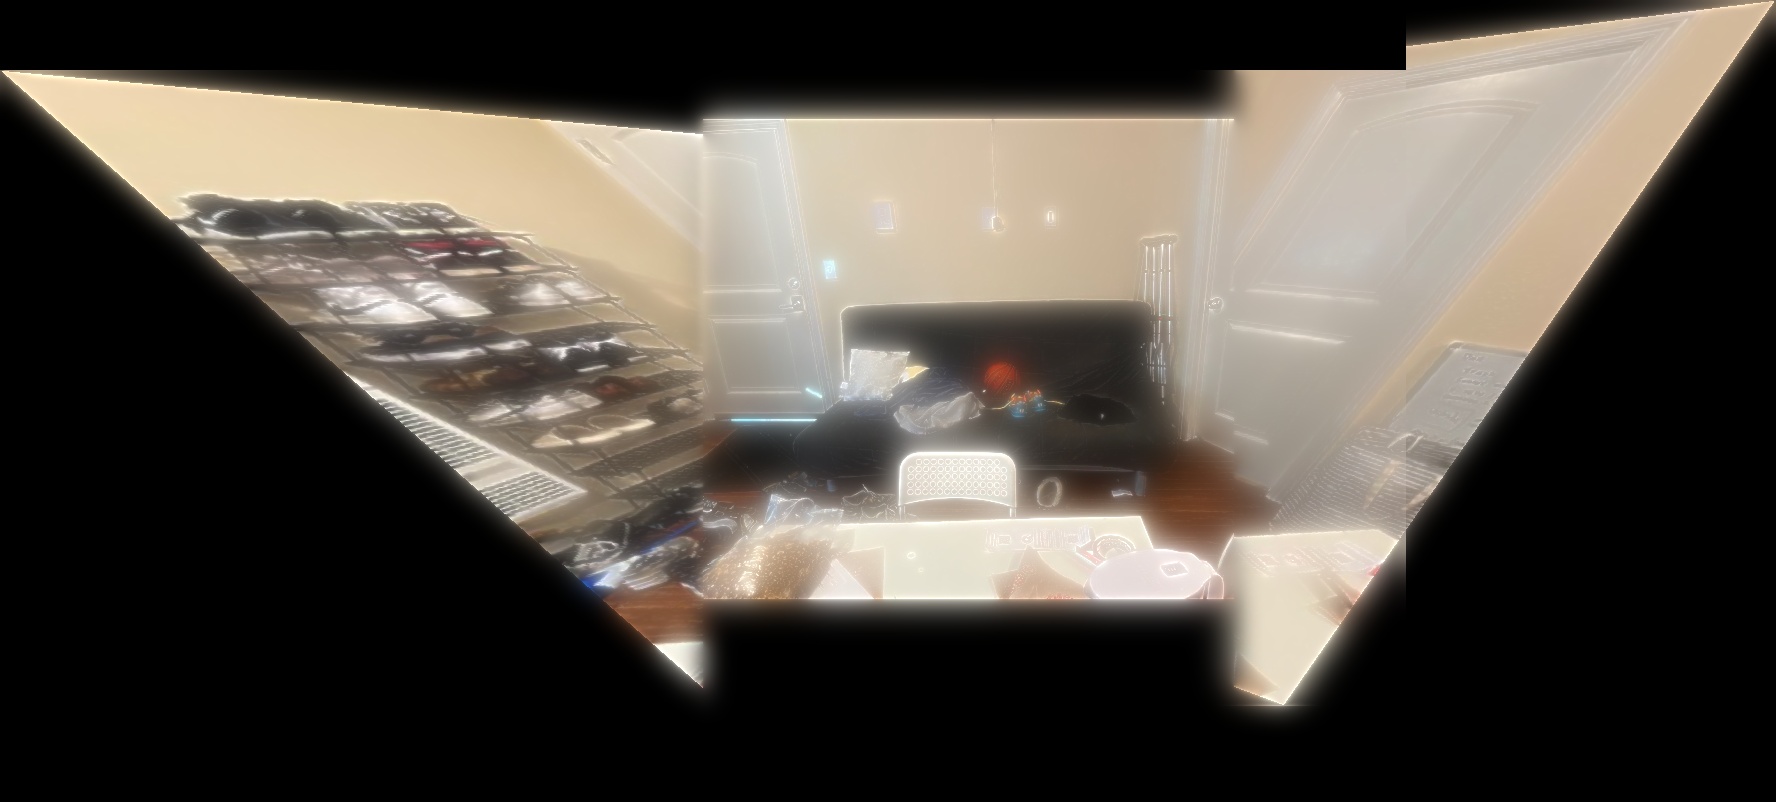
Manual Stitch
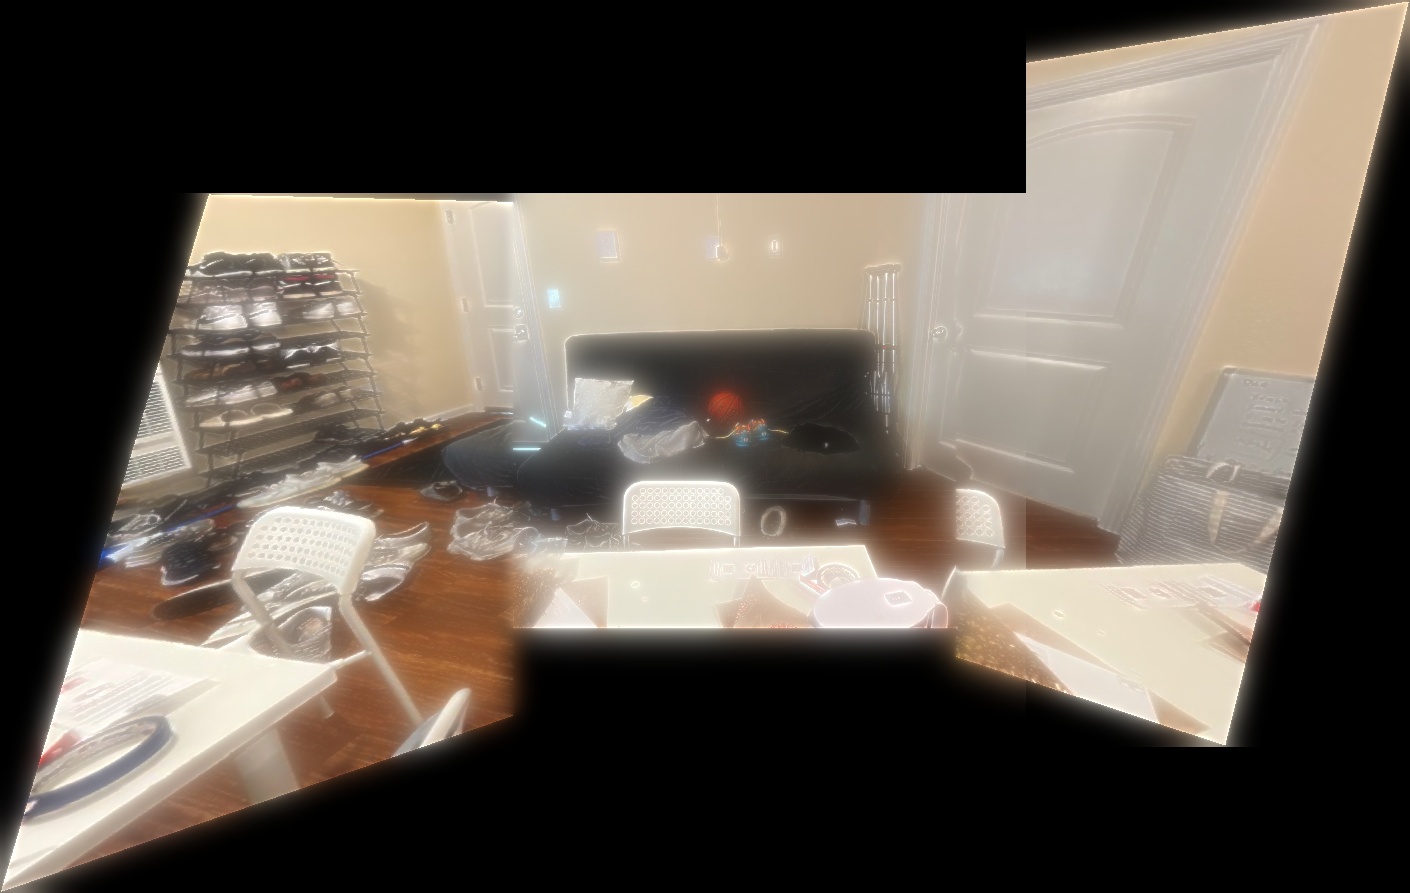
Auto Stitch
By far the worst image was my couch -- I feel like there were not enough defined edges, having lots of detail at the edges.
The Coolest Thing I Learned
The most fascinating aspect of this project was learning about the Adaptive Non-Maximal Suppression (ANMS) technique. ANMS not only identifies the strongest feature points but also ensures they are well-distributed across the image. This balance between feature strength and spatial distribution is crucial for robust image stitching, as it prevents the algorithm from overfitting to a single area of high contrast or texture. It's amazing how this seemingly simple step significantly improves the quality and reliability of the final panorama, making the difference between a disjointed collection of images and a seamless, immersive view.